Utilize the Platform to Create and Manage Influencer Contracts
Harnessing the power of seamlessness, we simplify the process of recruiting and contracting influencers.
Within empowr.ai, we offer a feature that enables you to effortlessly create and send contracts to influencers. Once signed, you have the option to download a copy, and influencers can also access and download their own. Now, let’s delve into the process of creating a contract:
Step I: Navigate to contracts page
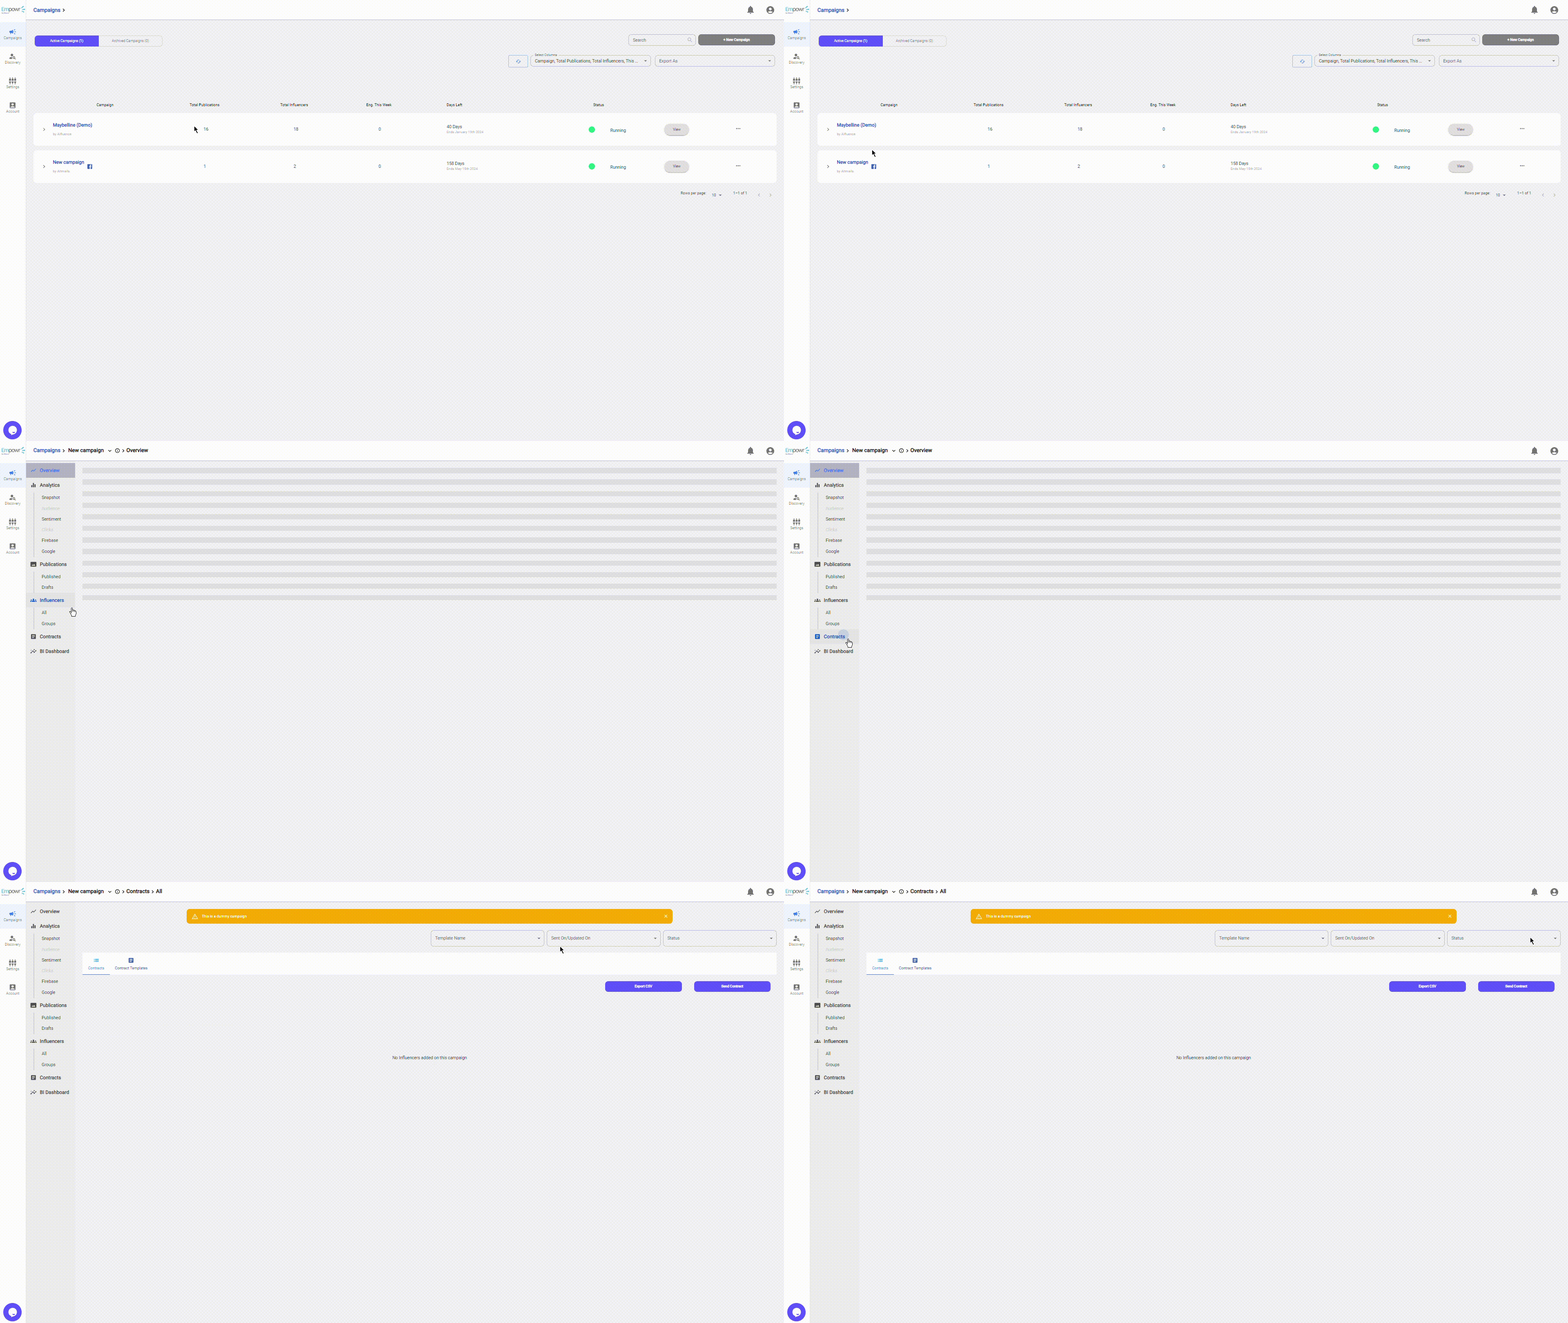
Upon logging into your Empowr account, navigate to your campaign and access the contracts tab.
By default, you should be directed to the contracts page, where you’ll find a comprehensive list of influencers who have received their contracts, along with their current status, whether it’s pending or accepted.
Step II: Open the create contract form
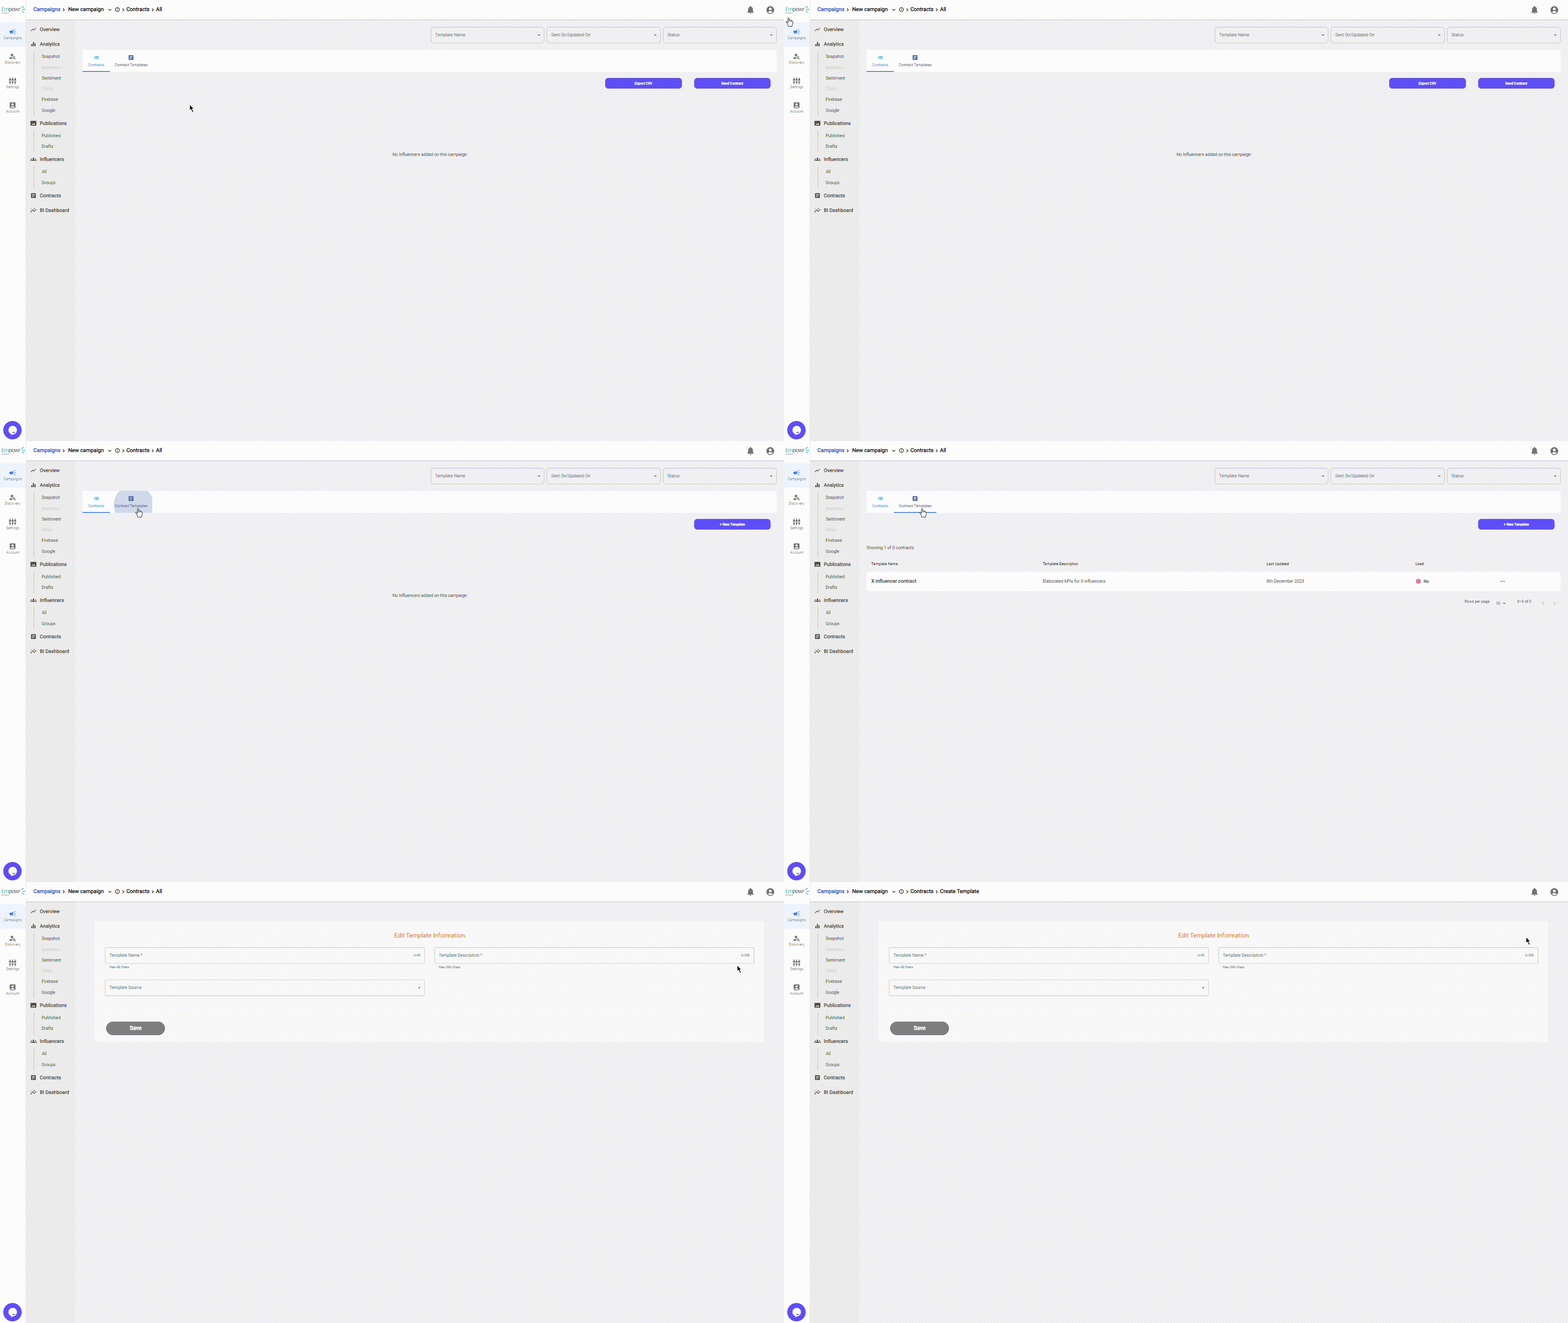
Tap on the contracts template tab, to navigate to that page.
In the contract template page, tap on the + new template on the top right of this page to redirect you to the contract creation form.
Step III: Fill in the contract.
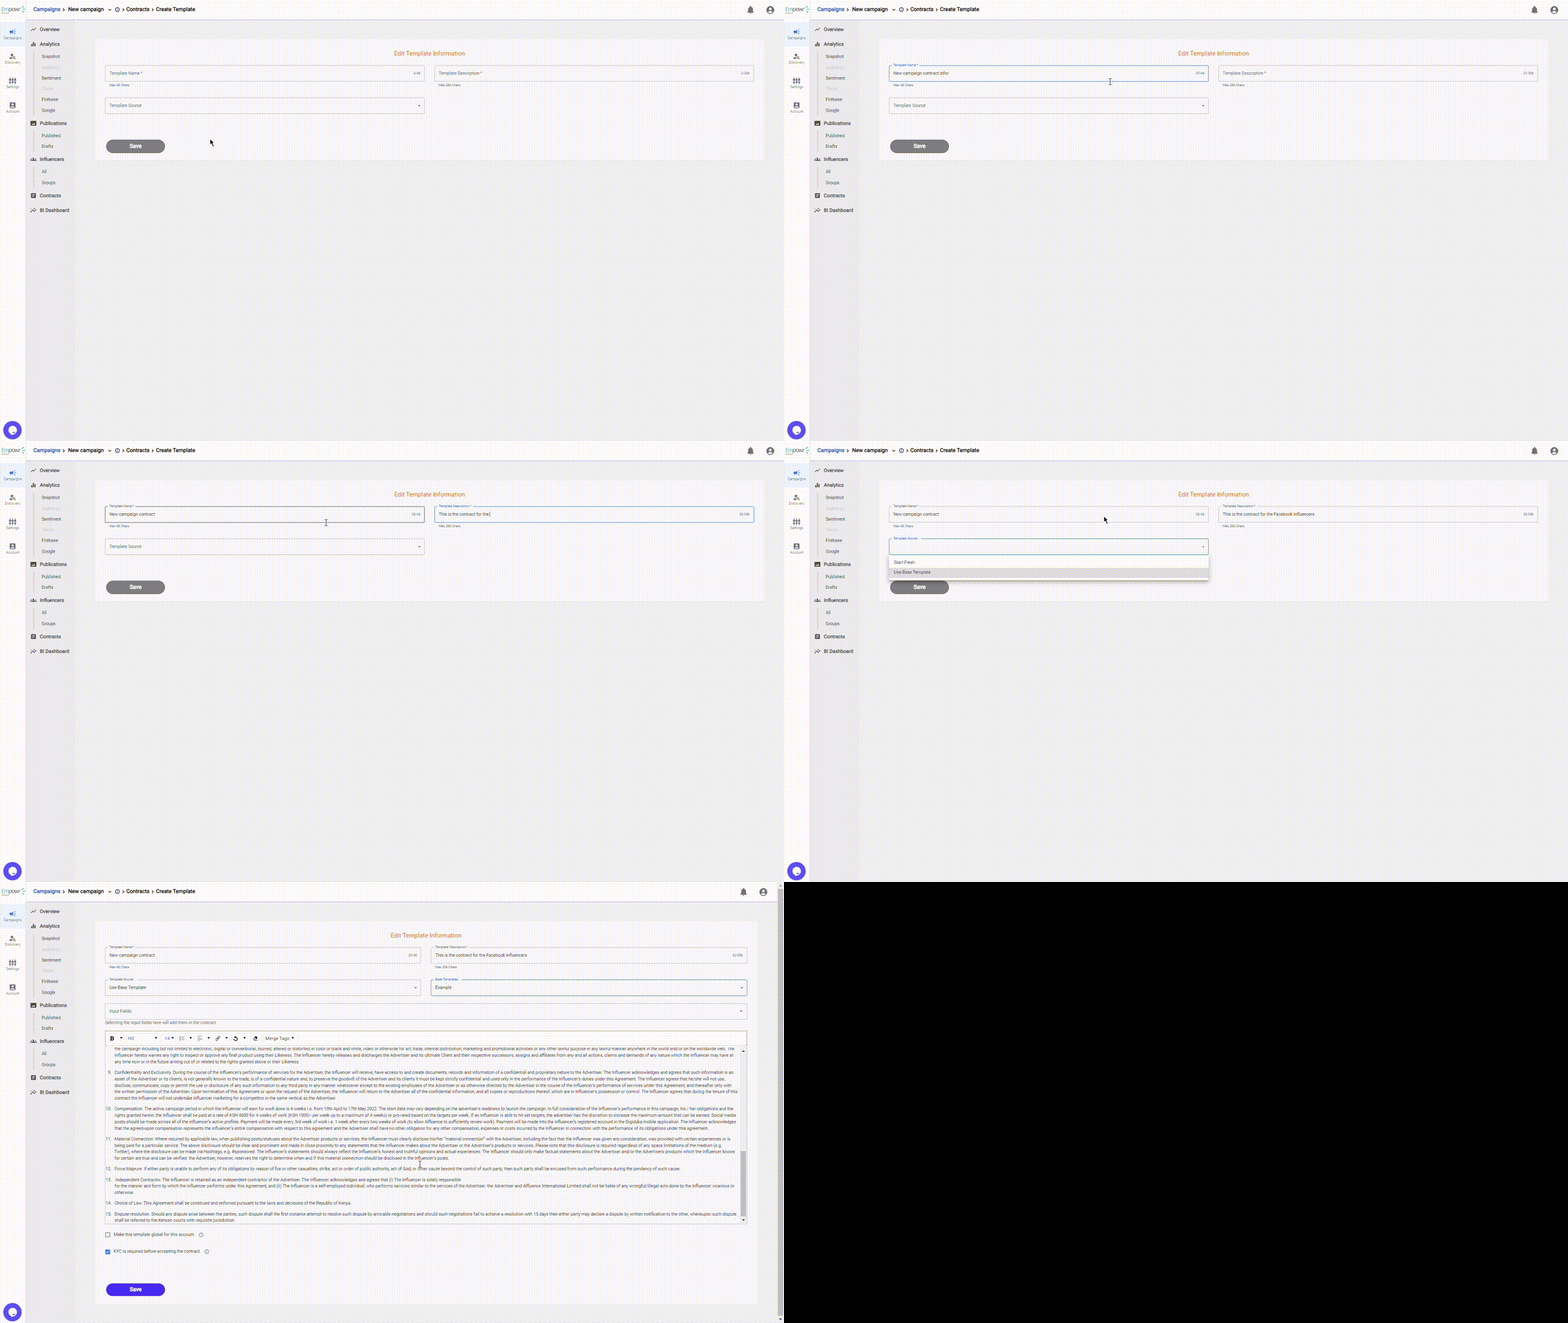
There a multiple things to look out for in creating a new contract.
- Template name – This indicates the name of the contract. This will be seen by the influencer on their end
- Template description – This is the contract description not visible to the influencers. This is for you :).
- Template source – Do you want to have a template to start or do you have yours that you can copy and paste? Whichever you select will unveil the rest of the form.
- Base templates – This field is only shown if you select base template as your template source.
- Input fields – On top of the influencer signing the contract, research says you would probably like to know one of the following options shown in the drop down. Choose what is best for you and go on and edit the contract.
- Contract field – You can paste your whole contract on this field of entry. If you chose to work with our base template, you can scroll and edit the relevant fields.
- Make this template global check box – This just ensure that this contract is available across all your campaigns in your account.
- KYC is required global check box – In our influencer facing application, there’s a KYC form that influencers fill for us to know more about them as well get their payment details to just roll out payment easily.
Step IV: Save and verify your contract.
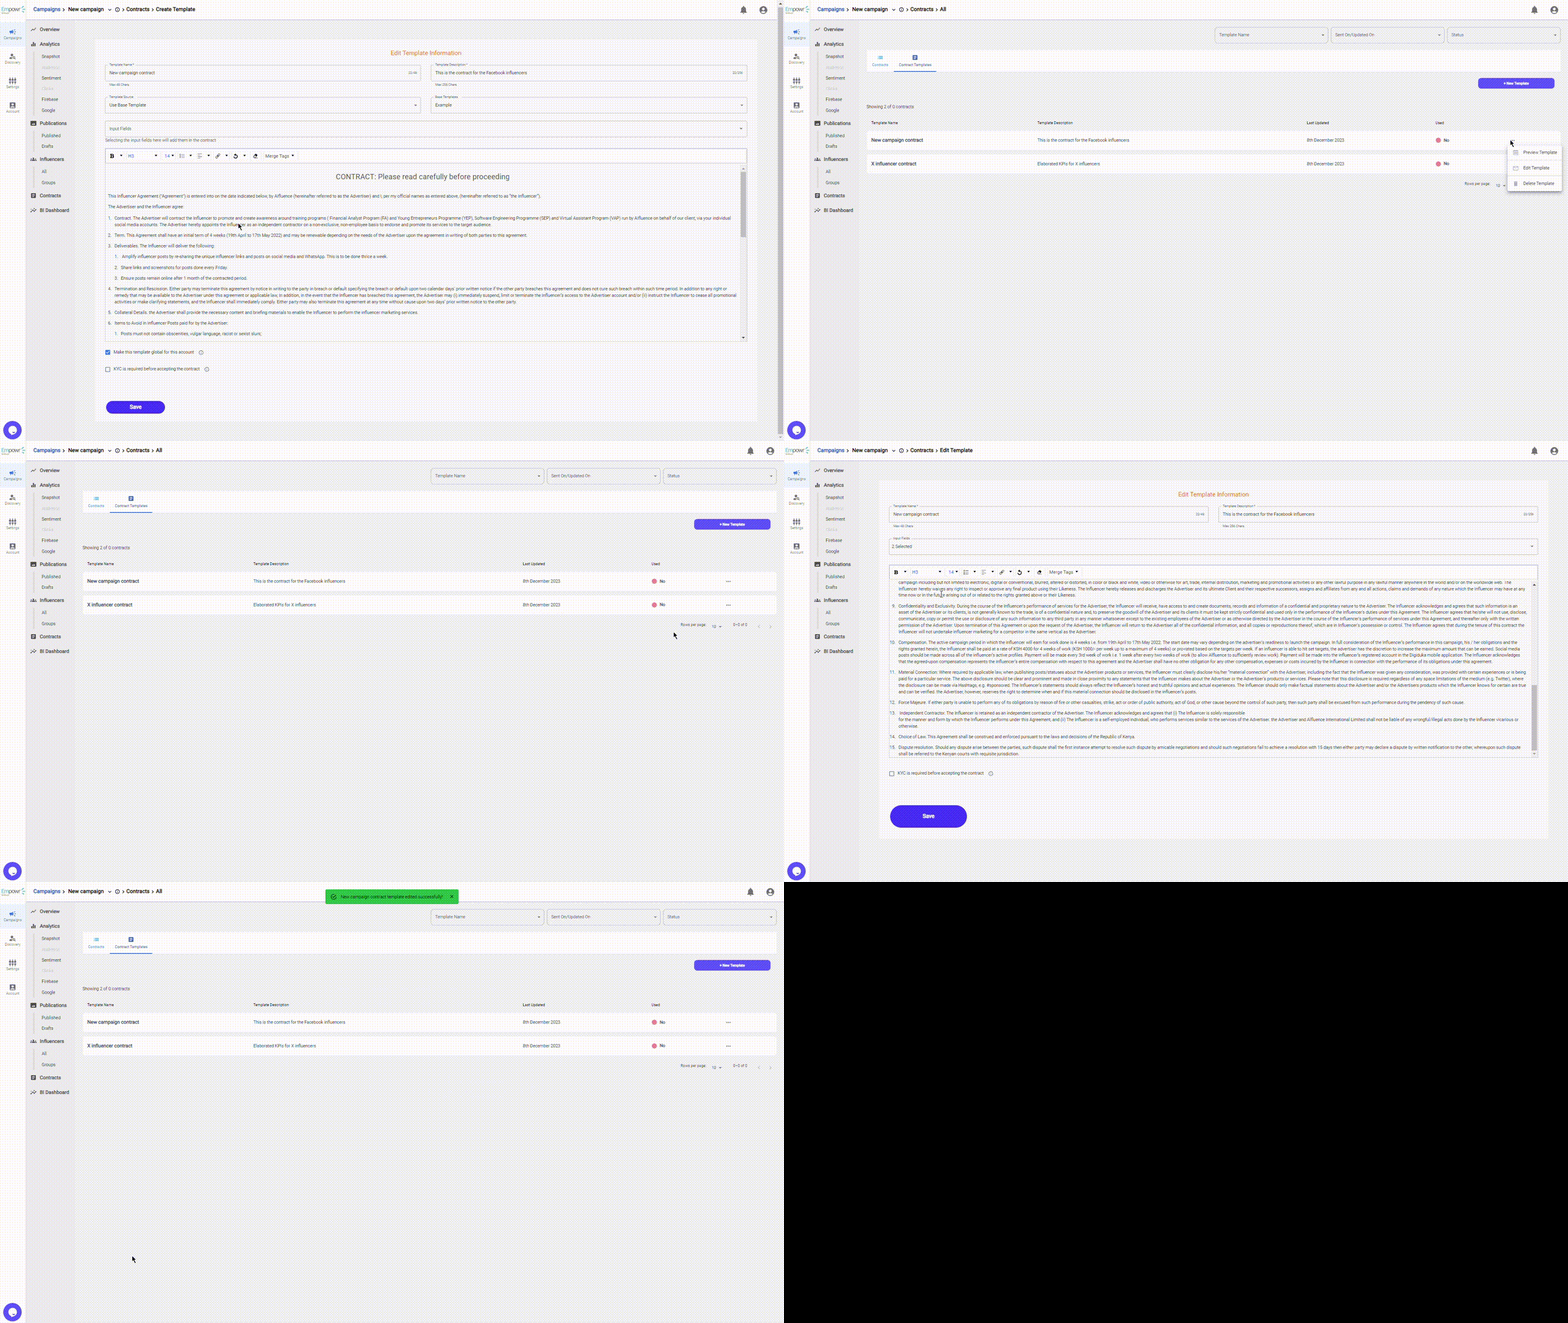
After filling you and verifying your entry, hit the save button and you’ll be redirected back to the contract templates page, with the most recent contract at the top of the table.
From the table, by tapping on the three dots on the far right, you’ll get the options where you can: (1) Preview the contract, (2) Edit the contract and (3) Delete the contract.
Step V: Send out the contract
After verifying and you are certain your contract is ready, let’s send it out.
To send the contract, tap on the contracts tab to switch tabs. In the contracts tab, on the top right of the page tap on send contract to reveal the send contract form.
Fill out the form by providing the following:
- Template – Your preferred contract you’d like to send to your influencers
- Group – Pick out the group of influencers you’d like to send the contracts to. This will unveil a transfer table with the influencers in there.
- Transfer table – Tap on the names of the influencers available that you’d like to send the contracts. Tap on the right arrow to transfer them to the chosen table and once done.
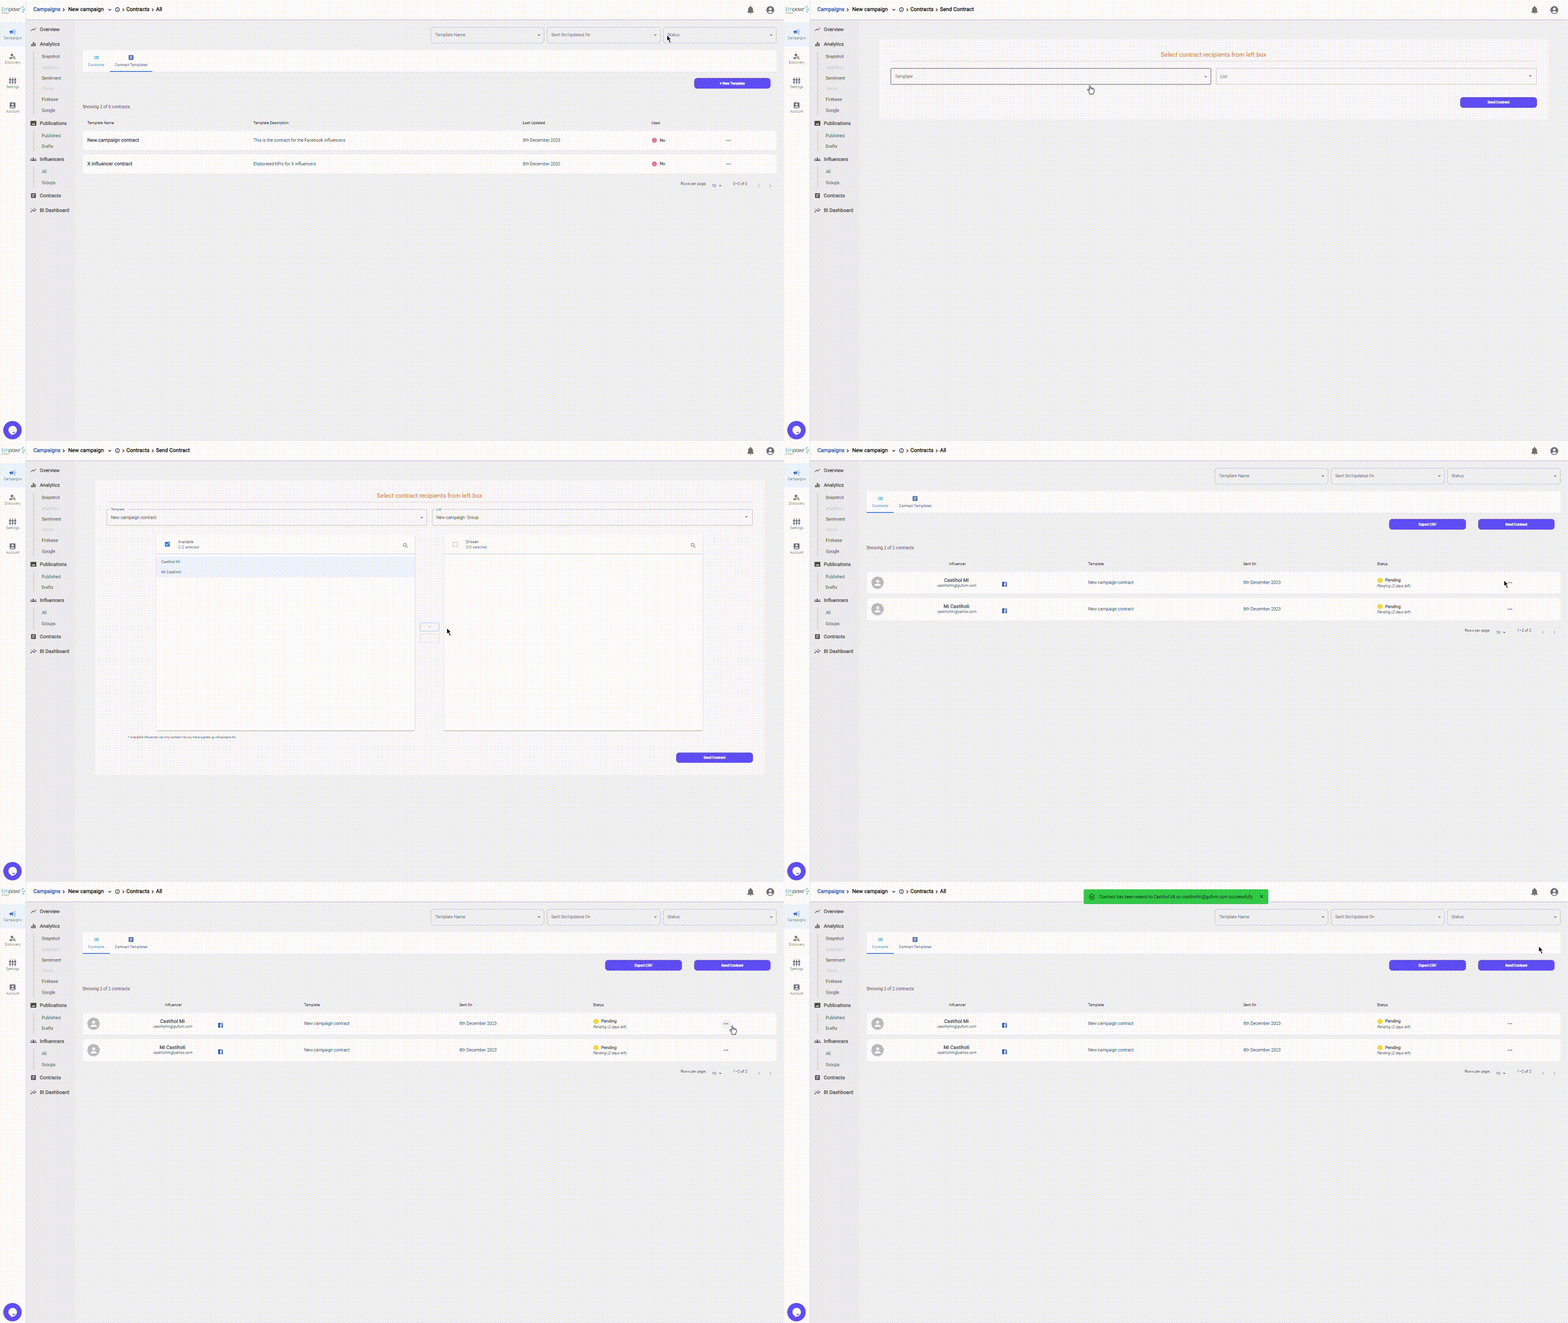
Once done, tap on send at the bottom right of this section. The influencers will receive a notification in their email as well as an in-app notification.
